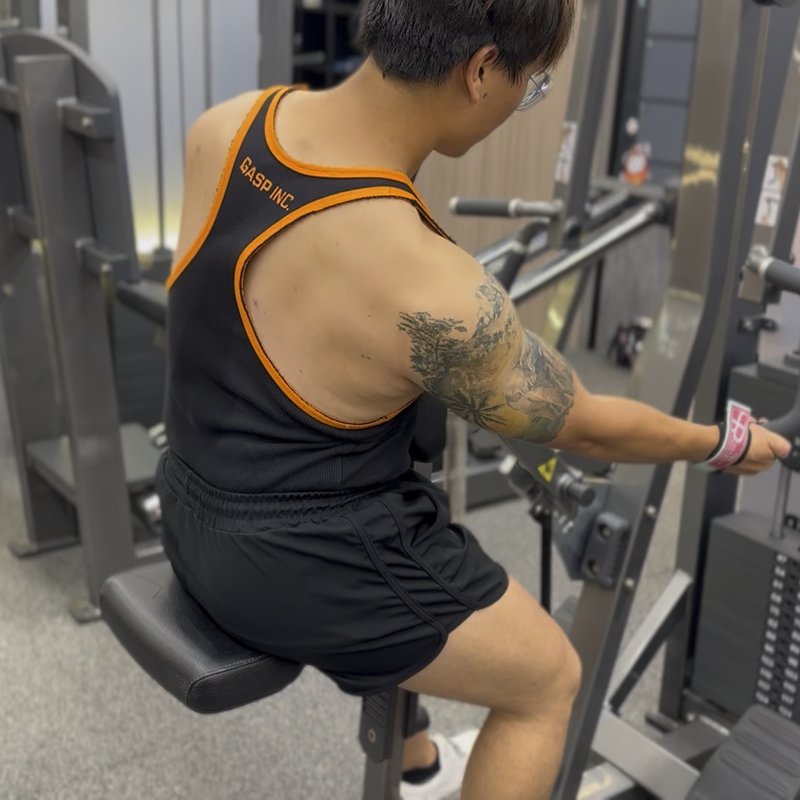
One Arm Lat Pulldown: The Ultimate Guide
The One Arm Lat Pulldown is a unilateral variation of the traditional lat pulldown that targets the latissimus dorsi, rhomboids, and biceps while allowing for increased range of motion and focus on individual side development.
Quick Facts
Key Benefit
Balanced back development and enhanced mind-muscle connection
Primary Muscles
Lats, Rhomboids, Rotator Cuff
Secondary Muscles
Abdominals, Biceps, Forearms, Posterior Deltoids, Traps
Equipment
cable machine
Difficulty
Intermediate
Type
Strength
In This Guide
Ready to master the One Arm Lat Pulldown?
Track your progress, see improvements over time, and build strength consistently.
Download GravitusThe One Arm Lat Pulldown is a highly effective unilateral variation of the traditional lat pulldown that offers unique benefits for back development. This exercise primarily targets the latissimus dorsi—the large, fan-shaped muscles that give the back its width—while also engaging the rhomboids, rear deltoids, biceps, and core stabilizers. What makes the one-arm version particularly valuable is its ability to address muscle imbalances between the left and right sides of the back, which commonly develop through everyday activities or sports that favor one side. By working each side independently, you can ensure balanced development and potentially correct existing disparities in strength or muscle activation. Additionally, the unilateral nature of this exercise allows for a greater range of motion and rotational component compared to bilateral pulldowns. This increased freedom of movement can lead to better lat activation and a stronger mind-muscle connection, as you can fully focus on one side at a time. Whether your goal is to build a wider back, correct imbalances, improve functional pulling strength, or simply add variety to your back training, the One Arm Lat Pulldown delivers targeted stimulation in a controlled environment suitable for intermediate to advanced lifters.
Benefits of One Arm Lat Pulldown
The One Arm Lat Pulldown offers several unique advantages compared to traditional bilateral variations.
Muscle Imbalance Correction
Allows you to identify and address strength or development differences between the left and right sides of your back.
Enhanced Mind-Muscle Connection
Working one side at a time helps you focus completely on the target muscles, improving neuromuscular activation and control.
Increased Range of Motion
The unilateral approach permits a slightly greater range of motion and shoulder movement compared to two-arm versions.
Core Activation
Requires significant anti-rotation core stabilization to maintain proper body position throughout the movement.
Functional Carryover
Better mimics many real-world and sports activities that often involve single-arm pulling motions.
Proper Form & Technique
Setup
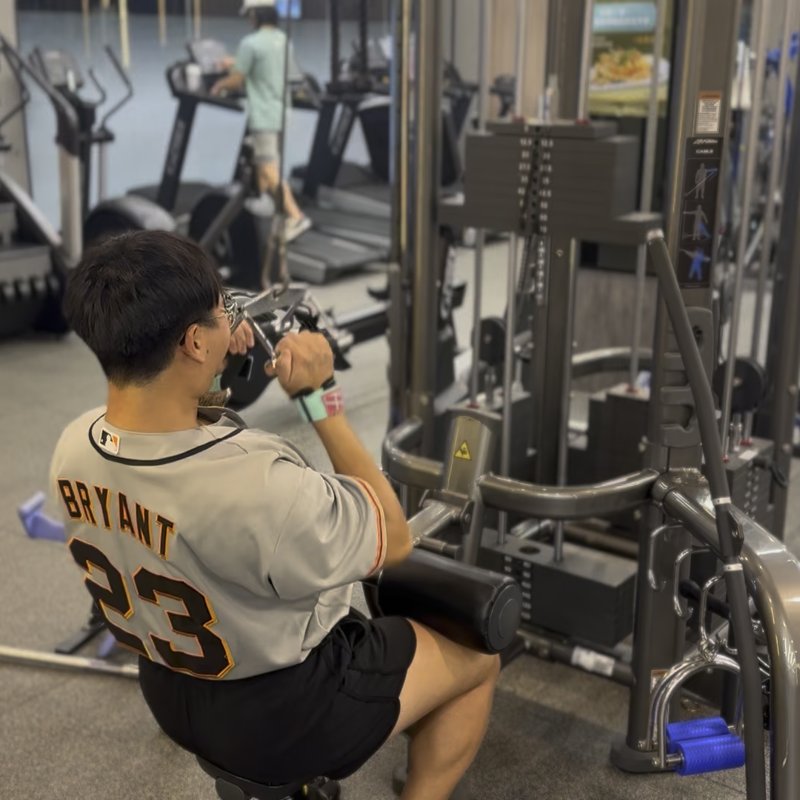
- Attach a single-handle attachment to the high pulley of a cable machine.
- Adjust the seat height so your arm is fully extended at the starting position without excessive reaching.
- Sit facing the machine with your feet flat on the floor, knees bent at approximately 90 degrees.
- Grasp the handle with one hand, using a neutral or slightly pronated grip.
- Position yourself so your arm is extended overhead with a slight forward lean from the hips (about 10-15 degrees).
- Keep your chest up, shoulders down and back, and core engaged.
- You may place your non-working hand on your hip, thigh, or the side of the seat for stability.
Movement
- Begin by retracting your shoulder blade, drawing it down and back before initiating elbow flexion.
- Pull the handle down by driving your elbow toward your hip, keeping your upper arm close to your body.
- Maintain an upright torso position, resisting the tendency to lean away from the working side.
- Continue pulling until your elbow is at your side and the handle is approximately at chest level.
- Squeeze your lat at the bottom position, focusing on the contraction in the working side of your back.
- Hold the contracted position briefly to maximize mind-muscle connection.
- Slowly return to the starting position with control, allowing your arm to fully extend and your shoulder blade to protract.
- Repeat for the prescribed number of repetitions before switching to the other arm.
- Maintain even breathing throughout—exhale during the pulling phase and inhale during the return.
Key Form Tips
Shoulder Position
Initiate the movement by depressing your shoulder blade downward before beginning the elbow bend.
Elbow Path
Keep your elbow tracking close to your body rather than flaring outward for optimal lat engagement.
Torso Stability
Resist rotating or leaning to counterbalance the pulling motion—your core should work to maintain position.
Range of Motion
Allow for full extension at the top and complete contraction at the bottom without compromising form.
Focus
Concentrate on feeling the working lat throughout the entire movement rather than just moving the weight.
Muscles Worked
Primary Muscles
- lats: The large, wing-like muscles of the back that are the primary target of this exercise, responsible for shoulder adduction and extension.
- rotator cuff: A smaller muscle that works alongside the lats to bring the arm down and inward during the pulling motion.
- Rhomboids: The muscles between the shoulder blades that retract the scapula and are engaged particularly at the initiation of the pull.
Secondary Muscles
- biceps: The front arm muscles that flex the elbow during the pulling motion, serving as secondary movers.
- posterior deltoids: The posterior portion of the shoulder muscles that assist in the pulling movement, particularly with a slightly wider elbow path.
- traps: The middle and lower fibers assist in scapular retraction and depression during the pulling phase.
- abdominals: The abdominals and obliques work isometrically to prevent rotation and maintain proper torso position.
- forearms: The muscles of the forearm that maintain your grip on the handle throughout the movement.
Common Mistakes and How to Fix Them
Excessive Torso Rotation
Rotating the torso toward the working arm reduces lat activation and increases risk of spine issues. Focus on maintaining a squared torso position throughout the movement by engaging your core muscles, particularly the obliques on the opposite side. Imagine your shoulders and hips remaining parallel to the floor and facing forward. If necessary, reduce the weight until you can maintain proper positioning. Consider using a mirror initially to monitor your form and ensure you're not rotating as you pull.
Using Momentum
Swinging or using body motion to move the weight reduces the effectiveness for the target muscles. Control the movement throughout the entire range of motion, especially during the lowering phase. Use a moderate tempo—perhaps 2 seconds down, brief pause, 2-3 seconds up—to eliminate momentum. Select a weight that allows you to perform the movement strictly with back muscles rather than body english. If momentum becomes necessary to complete repetitions, it's a sign the weight is too heavy.
Pulling with the Arm Instead of the Back
Initiating the movement with biceps flexion rather than lat engagement reduces back muscle development. Begin the pull by depressing and retracting your shoulder blade before bending your elbow. Think of your hand as merely a hook and your arm as a rope—they connect to the weight but don't generate the force. Focus on pulling with your elbow rather than your hand, using cues like "elbow to hip" or "pull from the armpit." Practice with lighter weight while placing your opposite hand on your working lat to feel it engage properly.
Inadequate Range of Motion
Not allowing full extension at the top or complete contraction at the bottom limits development. Ensure you achieve a full stretch at the top position, feeling your lat lengthen, and complete contraction at the bottom with your elbow at your side. Avoid cutting the movement short at either end of the range. If the weight is too heavy to complete the full range, decrease it until proper form can be maintained. Consider using a controlled 1-2 second pause at both the stretched and contracted positions to ensure you're achieving full range.
Shoulder Elevation
Allowing the shoulder to shrug up toward the ear, particularly at the start of the movement. Keep your shoulder blade pulled down and back throughout the exercise. Prior to beginning each repetition, consciously depress your shoulder away from your ear. Think of creating distance between your ear and shoulder rather than bringing the handle down with your arm. This depression is crucial for proper lat activation and shoulder health. Regular practice of scapular depression exercises can help reinforce this pattern.
Exercise Variations
Grip Variations
-

Pronated Grip One Arm Pulldown
Using an overhand grip to emphasize upper lat development and incorporate more rear deltoid activation.
-

Supinated Grip One Arm Pulldown
Employing an underhand grip to increase biceps involvement and target the lower lats more effectively.
-

Neutral Grip One Arm Pulldown
Using a handle that allows a palms-facing-each-other grip for balanced muscle recruitment and reduced wrist strain.
Body Position Variations
-
Kneeling One Arm Lat Pulldown
Performed in a kneeling position to increase core stabilization demands and potentially allow for greater range of motion.
-
Standing One Arm Lat Pulldown
Executed from a standing position for increased functional carryover and greater lower body stabilization requirements.
-

Cross-Body One Arm Pulldown
Pulling the handle diagonally across the body to enhance rotational components and target different portions of the lat.
Technical Variations
-

One Arm Pulldown with Pause
Adding a 2-3 second isometric hold at the point of maximum contraction to increase time under tension and mind-muscle connection.
-

One-and-a-Half Lat Pulldown
Performing a full repetition followed by a half repetition (halfway up and back down) before returning to the starting position.
-

Eccentric-Focused One Arm Pulldown
Emphasizing the negative portion with a 4-5 second controlled return to the starting position to increase muscle damage and growth stimulus.
Frequently Asked Questions
Neither version is inherently "better"—they each offer distinct advantages that make them complementary rather than competitive exercises. The One Arm Lat Pulldown excels at addressing left-right imbalances, creating a stronger mind-muscle connection, and potentially allowing for a slightly greater range of motion with more freedom of movement. It also engages more anti-rotation core stabilizers due to the unilateral loading. The traditional two-arm version, however, typically allows for heavier total loading, can be more time-efficient, and may be better for beginners learning basic pulling mechanics. For optimal development, consider incorporating both variations in your training program—perhaps using the bilateral version for overall back development and heavier loading, while implementing the unilateral version for balance correction and enhanced mind-muscle connection. As with most exercise comparisons, the "best" choice depends on your specific goals, training experience, and individual needs rather than one being universally superior.
Most people respond well to training each major muscle group 2-3 times per week with sufficient recovery between sessions. For the One Arm Lat Pulldown specifically, incorporating it 1-2 times weekly is typically optimal for most trainees. If following a body part split, you might perform this exercise on your designated back or pull day once per week. With an upper/lower split, it could be included in one of your two weekly upper body sessions. For full-body training, it might appear in 1-2 of your 3-4 weekly workouts. Consider your overall back training volume—the One Arm Lat Pulldown is just one component of complete back development that should be balanced with bilateral vertical pulling, horizontal pulling movements, and potentially direct rear deltoid or trap work. If you're specifically working to correct a significant imbalance between sides, you might temporarily increase the frequency for the weaker side to 2-3 times weekly with appropriate volume management. Monitor recovery between sessions—if back performance decreases or joint discomfort develops, you may need more recovery time or reduced volume.
It depends on your specific situation and goals. If you have a noticeable strength imbalance between sides (which is common), using the same weight may result in the stronger side getting insufficient stimulus while the weaker side struggles with form breakdown. In this case, it's reasonable to use slightly different weights to provide appropriate challenge for each side. However, there are two important considerations with this approach: First, track both weights and work to gradually bring the weaker side up to match the stronger side over time. Second, perform the same number of sets and repetitions for both arms, regardless of weight differences. If the imbalance is minimal (less than 10% difference in strength), using the same weight for both arms is generally advisable, as it provides a clear benchmark for progress and prevents accidentally increasing the disparity. In this case, let your weaker side dictate the weight selection to ensure proper form can be maintained. For most trainees, the long-term goal should be balanced strength and development, so programming should ultimately work toward equalization rather than maintaining differences.
To maximize lat activation during the One Arm Lat Pulldown, focus on these key techniques: First, initiate each repetition with scapular depression—deliberately pull your shoulder blade down away from your ear before beginning elbow flexion. This pre-activation engages the lats from the start. Second, maintain a slight forward lean from the hips (approximately 10-15 degrees) throughout the movement to optimize the pulling angle for the lats. Third, focus on driving your elbow down and slightly back rather than just pulling with your hand—think "elbow to hip pocket" as a mental cue. Fourth, maintain a consistent wrist position throughout; avoid flexing or extending the wrist during the movement. Fifth, experiment with different grip positions in your training to find which creates the strongest mind-muscle connection for your individual anatomy. Many lifters find a neutral grip (palm facing the midline) or slightly pronated grip most effective for lat engagement. Finally, consider using the "touching" technique during initial learning phases—place your non-working hand on your working lat to physically feel the muscle contracting and relaxing throughout the movement. This tactile feedback can significantly improve neuromuscular connection.
Video Demonstrations
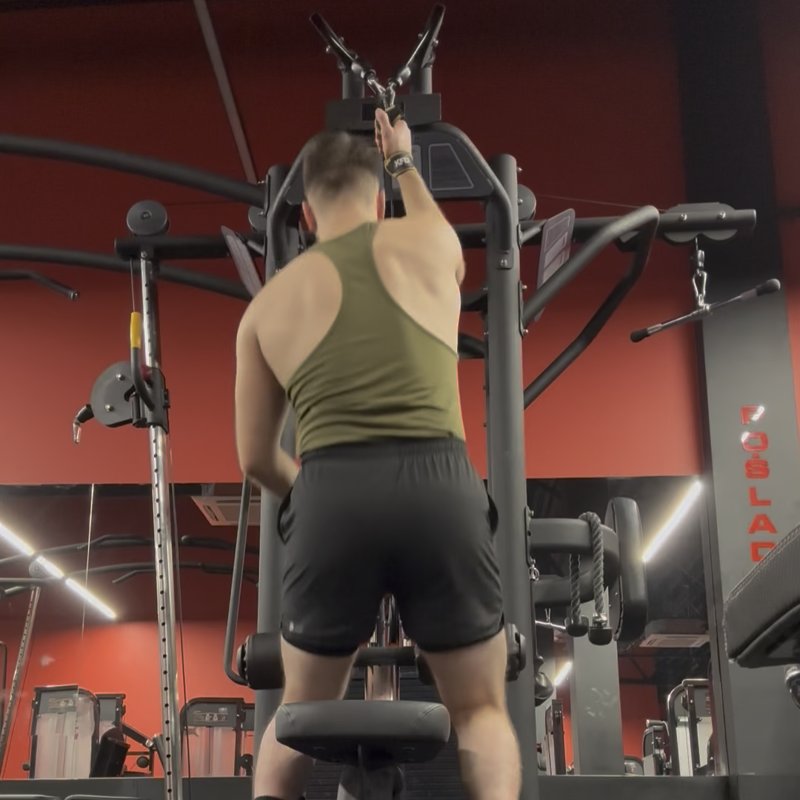
Log in to watch video demonstrations
Login to Watch3 video demonstrations available
Find more video demonstrations in the Gravitus app
Tips from the Community
-

You can crunch laterally while you bring your hand down to increase lat activation
-

Keep arm straight and engage core
Track your progress with Gravitus
Download Gravitus to log your workouts, track your progress, and join a community of fitness enthusiasts.

Helpful Resources
One Rep Max Calculator
Find your one rep max for any exercise without maximal testing. Essential for developing effective strength training programs.
Calculate 1RMWorkout Programs
Follow structured workout programs created by fitness professionals to maximize your strength and muscle gains.
View Programs