Machine Seated Row: The Ultimate Guide

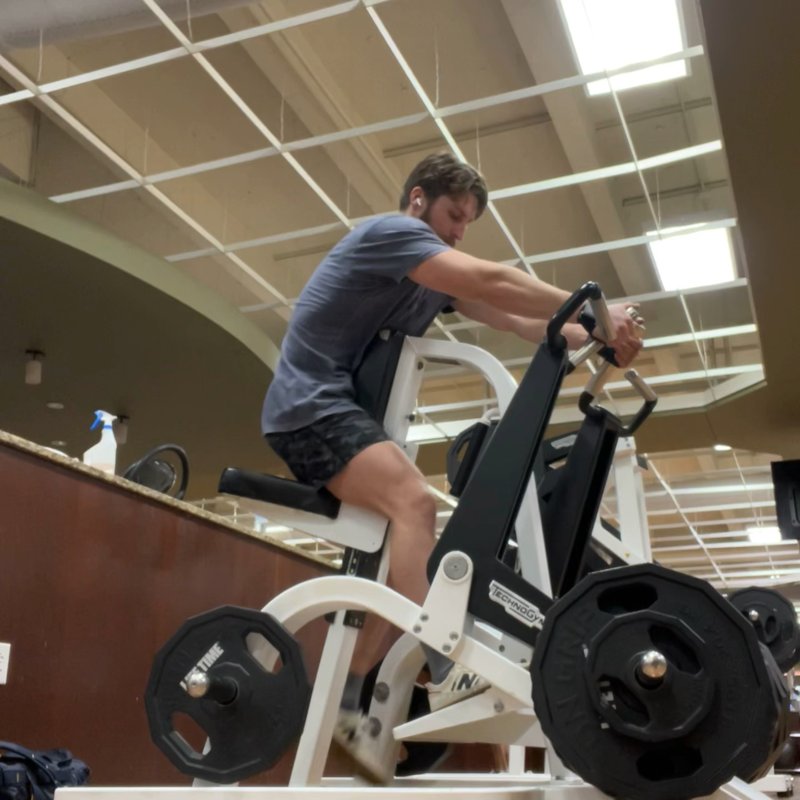
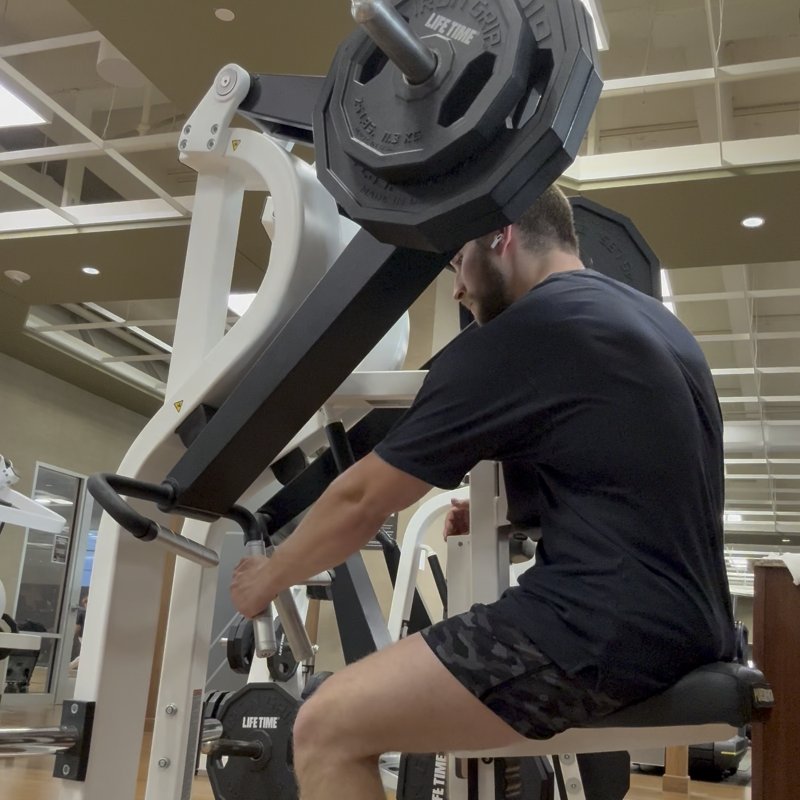
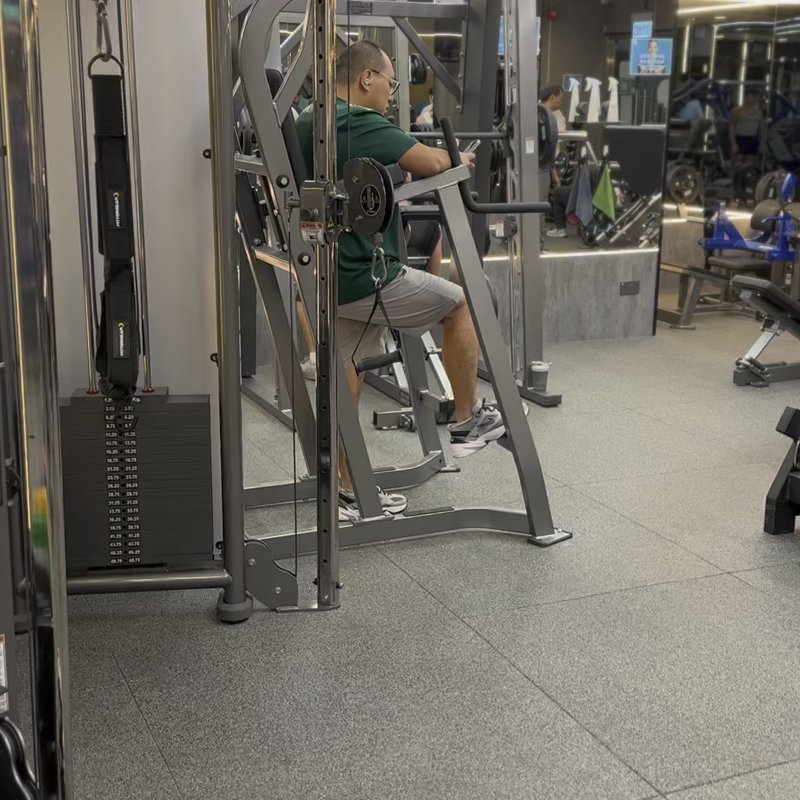
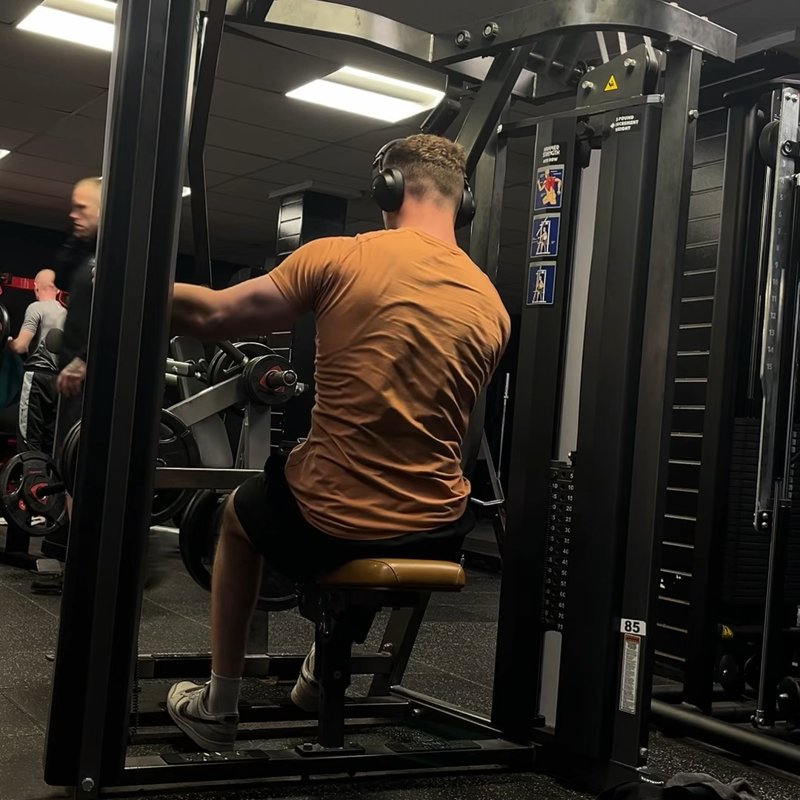
The Machine Seated Row is a compound pulling exercise performed on a dedicated rowing machine that targets the latissimus dorsi, rhomboids, and middle trapezius while providing back support for stable, controlled back training.

By the Gravitus Team

Machine Seated Row demonstration

Quick Facts

Key Benefit

Back thickness and postural improvement with fixed movement pattern

Primary Muscles

Lats, Rhomboids, Traps

Secondary Muscles

Biceps, Brachialis, Erector Spinae, Forearms, Posterior Deltoids, Rotator Cuff

Equipment

machine

Difficulty

Beginner

Type

Compound

Track Your Machine Seated Row Progress

Log sets, track PRs, and see your strength gains over time.

star star star star star
8,000+ App Store Ratings
Download Gravitus from the App Store

The Machine Seated Row is a fundamental back-building exercise that combines effectiveness with accessibility for lifters of all experience levels. This movement primarily targets the major muscles of the mid and upper back, including the latissimus dorsi, rhomboids, and middle trapezius, while also engaging the biceps and rear deltoids as supporting muscles. What distinguishes the machine variation from other rowing exercises is its guided movement path and supportive structure. The machine typically provides a chest pad or support that stabilizes the torso, eliminating the need for the lower back and core to maintain position as required in bent-over rowing variations. This allows for greater focus on the target back muscles and makes the exercise accessible to those with lower back concerns. The fixed movement pattern also reduces the learning curve, enabling lifters to concentrate on proper scapular mechanics and back engagement rather than balance and coordination. Most machines offer adjustable resistance, making them suitable for progressive overload across a wide range of strength levels. Whether your goal is to build back thickness, improve posture by strengthening the posterior chain, enhance pulling strength for functional movements, or simply add an effective exercise to your routine, the Machine Seated Row provides reliable results in a controlled, joint-friendly format.

Benefits of Machine Seated Rows

The machine seated row offers several distinct advantages compared to other rowing variations.

Back Support and Stability

The chest pad or support system reduces lower back stress and eliminates the need for extensive core stabilization during the movement.

Targeted Back Muscle Activation

The fixed movement path and stability allow for greater focus on the working back muscles, potentially enhancing mind-muscle connection.

Reduced Technical Demands

The guided motion simplifies the exercise, making it accessible to beginners while remaining effective for advanced lifters.

Progressive Overload Simplicity

Most machines feature easy weight adjustment mechanisms, facilitating systematic strength progression over time.

Joint-Friendly Option

The controlled range of motion and support system can make this a more comfortable option for those with certain joint concerns.

Consistent Resistance

Machines typically provide smooth, consistent resistance throughout the entire range of motion, maintaining tension on the target muscles.

Proper Form & Technique

Setup

  1. Adjust the seat height so that the handles align approximately with your mid-chest when seated.
  2. Set the appropriate weight on the machine's weight stack.
  3. Sit facing the machine with your feet placed firmly on the footplates or floor.
  4. Position your chest against the pad if the machine has one, or sit tall with a slight forward lean if using a free-standing design.
  5. Grasp the handles with a comfortable grip—typically neutral (palms facing each other) or overhand depending on the machine design.
  6. Sit tall with shoulders pulled back and down, creating a stable starting position.
  7. Ensure your knees are slightly bent and your body is positioned at a distance that allows full arm extension without rounding your back.
  8. Take a deep breath and brace your core to stabilize your torso.

Movement

  1. Begin with your arms fully extended, feeling a stretch in your back muscles.
  2. Initiate the movement by retracting your shoulder blades—think of squeezing them together before bending your elbows.
  3. Pull the handles toward your torso by driving your elbows back and slightly down.
  4. Keep your chest up against the pad and maintain a neutral spine throughout the movement.
  5. Continue pulling until the handles reach your torso—typically at the lower chest or upper abdominal level.
  6. At the end range, your elbows should be positioned slightly behind your torso to maximize back contraction.
  7. Squeeze your back muscles at the point of maximum contraction, holding briefly for enhanced mind-muscle connection.
  8. Slowly return to the starting position with controlled movement, allowing your arms to fully extend and shoulder blades to protract.
  9. Maintain tension throughout the entire movement, avoiding rest at the extended position.
  10. Repeat for the desired number of repetitions, maintaining proper form throughout.

Key Form Tips

Shoulder Blade Movement

Focus on initiating the pull by retracting your shoulder blades rather than just pulling with your arms.

Elbow Path

Drive your elbows back and slightly down, keeping them relatively close to your sides for optimal back engagement.

Torso Position

Maintain contact with the chest pad (if available) throughout the movement to eliminate unwanted body english.

Range of Motion

Achieve full extension at the start for a complete stretch and full contraction at the finish for maximum muscle activation.

Tempo Control

Use a controlled cadence—approximately 2 seconds to pull, 1-second squeeze at contraction, and 2-3 seconds to return.

Muscles Worked

Primary Muscles

lats: The large, fan-shaped muscles on the sides of the back that create width and are heavily engaged during horizontal pulling movements.
rhomboids: The muscles between the shoulder blades that retract the scapulae and are particularly activated during the squeezing phase of the row.
traps: The trapezius muscle, particularly the middle fibers that work to retract the shoulder blades during the pulling motion, while the lower fibers help depress and stabilize the shoulder blades.

Secondary Muscles

biceps: The front arm muscles that flex the elbow during the pulling motion, serving as important secondary movers.
posterior deltoids: The posterior portion of the shoulder muscles that assist in horizontal pulling and shoulder extension.
rotator cuff: Smaller muscles of the upper back that assist in shoulder extension and rotation during the row.
brachialis: Arm muscles that assist with elbow flexion during the pulling phase of the row.
forearms: The muscles of the forearm that maintain your grip on the handles throughout the exercise.
erector spinae: The muscles running along the spine that work isometrically to maintain proper posture during the exercise, though to a lesser extent than in unsupported rows.

Common Mistakes and How to Fix Them

Using Excessive Weight

Selecting too heavy a weight often leads to poor form and reduced back muscle activation. Choose a weight that allows you to maintain proper technique while feeling the target muscles working. Signs that the weight is too heavy include excessive body movement, inability to fully retract the shoulder blades, or relying primarily on arm strength rather than back engagement. Remember that the goal is to stimulate the back muscles, not just move the weight from point A to point B. If needed, temporarily reduce the weight and focus on perfect execution before progressively increasing the resistance again. Quality of movement always trumps quantity of weight when the goal is muscle development.

Pulling Primarily With Arms

Using mostly biceps and forearms rather than engaging the back muscles as primary movers. Focus on initiating the pull by retracting your shoulder blades before bending your elbows. Think of your hands as hooks and your arms as ropes—the power should come from your back. Practice the movement with lighter weight, concentrating on squeezing your shoulder blades together first, then bending the elbows. Some lifters find it helpful to imagine trying to squeeze a pencil between their shoulder blades during the movement. This initiation pattern (shoulders first, then elbows) is critical for maximizing back muscle recruitment and should become habitual with practice.

Excessive Torso Movement

Rocking or swinging the torso to assist the pulling motion, which reduces back muscle activation and increases risk of strain. Keep your chest pressed firmly against the support pad (if your machine has one) throughout the entire exercise. If using a machine without a chest pad, focus on maintaining a consistent torso angle with minimal movement. The movement should occur at your shoulder and elbow joints, not through torso rocking. If maintaining a stable position is challenging, it may indicate the weight is too heavy or that you need to focus more on core engagement. Some machines have seatbelts or stabilization straps—consider using these if available to reinforce proper positioning.

Incomplete Range of Motion

Not achieving full extension at the start or complete contraction at the finish of each repetition. Allow your arms to extend fully at the starting position, feeling a stretch in your lats and mid-back muscles. At the end of the pull, your elbows should move slightly behind your torso to maximize back muscle contraction. Imagine squeezing an object between your shoulder blades at the contracted position. If limited range of motion is due to excessive weight, reduce the load to prioritize complete movement. For some lifters, focusing specifically on the end ranges for several sessions helps establish proper movement patterns before increasing load significantly.

Hunched Shoulders

Allowing the shoulders to round forward during the movement, particularly at the extended position. Maintain proper shoulder positioning by setting them down and back before beginning each repetition. Think about creating distance between your ears and shoulders throughout the exercise. At the start position, your shoulders should be depressed (down) and slightly retracted (back)—not elevated or rounded forward. This positioning is crucial for proper lat engagement and reduces stress on the shoulder joints. If you find it difficult to maintain this shoulder position, it may indicate a need for additional upper back and rotator cuff strengthening exercises to support optimal mechanics.

Neglecting the Eccentric Phase

Returning to the starting position too quickly without controlling the weight on the way back. The eccentric (lowering) portion of the exercise is valuable for muscle development and should be controlled rather than simply allowing the weight to pull your arms forward. Take 2-3 seconds to return to the starting position, maintaining tension in your back muscles throughout this phase. Controlling the eccentric portion not only increases time under tension (beneficial for hypertrophy) but also reduces the risk of momentum-based injuries. Think about "resisting" the weight as your arms extend rather than just letting the weight stack pull your arms forward.

Exercise Variations

Grip Variations

  • Wide Grip Machine Row

    Using a wider hand position to place greater emphasis on the upper back, rhomboids, and rear deltoids.

  • Narrow Grip Machine Row

    Employing a closer hand position to increase lat engagement and target the lower portions of the back.

  • Overhand Grip Machine Row

    Using a pronated (palms down) grip to shift emphasis slightly toward the upper back and posterior deltoids.

  • Underhand Grip Machine Row

    Using a supinated (palms up) grip if the machine allows, increasing biceps involvement and targeting the lower lats more effectively.

Technical Variations

  • Single-Arm Machine Row

    Single-Arm Machine Row

    If the machine allows, performing the movement with one arm at a time to address potential imbalances and increase core anti-rotation demands.

  • Machine Row with Pause

    Machine Row with Pause

    Adding a deliberate 2-3 second isometric hold at the point of maximum contraction to increase time under tension and enhance mind-muscle connection.

  • Eccentric-Focused Machine Row

    Eccentric-Focused Machine Row

    Emphasizing the negative portion with a 4-5 second controlled return to the starting position to increase muscle damage and growth stimulus.

  • Partial Range Machine Row

    Partial Range Machine Row

    Performing the movement through a limited range of motion (either the stretched or contracted portion) to focus on specific areas of the strength curve.

Intensity Variations

  • Drop Set Machine Row

    Drop Set Machine Row

    Performing a set to near failure, then immediately reducing the weight and continuing for additional repetitions without rest.

  • Rest-Pause Machine Row

    Rest-Pause Machine Row

    Completing a challenging set, resting 10-15 seconds, then performing additional repetitions with the same weight, repeating several times.

  • Mechanical Drop Set

    Mechanical Drop Set

    Starting with a more difficult grip/hand position and transitioning to an easier variation as fatigue sets in, all within the same set.

  • 21s Machine Row

    21s Machine Row

    Performing 7 partial reps in the stretched position, 7 partial reps in the contracted position, and 7 full range repetitions to thoroughly fatigue the muscles.

How to Progress

Strategic progression with the Machine Seated Row involves manipulating various training variables to continually challenge the back muscles as they adapt and develop.

Beginner Level

Start with a weight that allows 10-12 controlled repetitions with proper form. Focus on establishing the mind-muscle connection by concentrating on feeling your back muscles working throughout the movement. Perform 2-3 sets with 60-90 seconds of rest between sets. Prioritize learning to initiate the pull with your shoulder blades rather than your arms. Practice proper breathing patterns—exhaling during the pull and inhaling during the return. Ensure your torso remains stable throughout the movement, making use of any support features the machine offers. Keep repetitions smooth and controlled, avoiding jerky motions or momentum. Once you can consistently perform all prescribed repetitions with good form for multiple consecutive workouts, increase the weight by 5-10%. Train back 1-2 times per week, with the Machine Seated Row as one of your primary horizontal pulling exercises.

Intermediate Level

Progress to moderately challenging weights that allow 8-10 quality repetitions for 3-4 working sets. Begin exploring different grip positions (wider, narrower, overhand, underhand if possible) to target different aspects of back development. Experiment with varied rep ranges across your training week—some sessions focusing on higher reps (12-15) for endurance and pump, others on moderate reps (8-10) with heavier weight for hypertrophy, and occasionally lower reps (6-8) for strength emphasis. Implement techniques like paused reps (2-3 second hold at the contracted position) or controlled negatives (3-4 second lowering phase) to increase time under tension. Consider adding intensity techniques like drop sets (reducing weight after reaching failure to extend the set) on your final set. Train back 2 times per week, potentially using different grip variations or approaches in each session. Start implementing periodization approaches to systematically vary volume and intensity across training blocks.

Advanced Level

Utilize challenging weights that allow 6-8 strict repetitions with perfect form for 4-5 working sets. Implement advanced training techniques such as mechanical drop sets (changing grip mid-set to work through fatigue), rest-pause training (taking mini-breaks during a set to extend volume), or pre-exhaustion methods (performing isolation back exercises before rows). Experiment with specialized repetition methods like 1½ reps (adding a half rep at the contracted position before lowering) or constant tension techniques (not fully extending at the top between reps). Incorporate periodization by cycling through strength phases (lower reps, heavier weight), hypertrophy phases (moderate reps, moderate weight), and metabolic phases (higher reps, lighter weight) over 3-4 week blocks. Consider alternating between the Machine Seated Row and other horizontal pulling variations across different mesocycles to provide novel stimulus and prevent adaptation plateaus. At this level, detailed attention to recovery modalities becomes increasingly important for continued progress, with specific focus on proper nutrition, sleep, and stress management. Implement strategic deloads every 4-6 weeks to prevent overtraining and allow for continued progress.

Frequently Asked Questions

Neither type is universally "better"—they each offer distinct advantages that make them complementary rather than competitive. Machine rows provide several unique benefits including a fixed movement path that reduces technical demands, back support that minimizes lower back stress, and typically smooth resistance throughout the range of motion. These features make machine rows particularly valuable for beginners learning proper pulling mechanics, those with lower back issues, or lifters wanting to isolate back muscles with minimal stabilization requirements. Free-weight rows (barbell, dumbbell, T-bar, etc.) engage more total musculature by requiring significant stabilization from supporting muscle groups. They typically allow for more natural movement patterns based on individual body mechanics and develop functional strength that may transfer better to real-world activities. For optimal development, most trainees would benefit from incorporating both machine and free-weight variations in their training program—perhaps using machine rows for higher-volume, controlled work and free-weight rows for more integrated strength development. The "best" choice depends on your specific goals, injury history, equipment availability, and individual biomechanics rather than an either/or proposition.

For optimal back muscle activation, pull the handles until they reach your torso—typically at the lower chest or upper abdominal level. At this end position, your elbows should be positioned slightly behind your torso, which maximizes the contraction of the rhomboids and middle trapezius. The exact position may vary slightly based on the specific machine design and your individual body proportions, but the key is achieving a position where you feel maximum contraction in the target back muscles. Several indicators can help determine if you're pulling to the optimal position: First, your shoulder blades should be fully retracted (squeezed together) at the end range. Second, you should feel a strong contraction in your mid-back muscles rather than primarily in your arms. Third, you should be able to maintain proper posture without excessive body english or momentum. If you're unable to pull to this position while maintaining good form, the weight may be too heavy—reduce the resistance until proper execution is possible. Conversely, pulling the handles beyond this natural end point by excessively contorting your body typically reduces effectiveness and increases injury risk. Focus on quality of contraction rather than trying to pull the handles as far back as physically possible.

The ideal torso position depends on the specific machine design you're using. For machines with a chest pad or support, lean forward to maintain firm contact between your chest and the pad throughout the exercise. This contact provides stability and helps eliminate unwanted body movement during the pulling phase. For machines without a dedicated chest support, sit tall with a slight forward lean from the hips (approximately 10-15 degrees). This slight lean helps engage the back muscles more effectively compared to a completely upright position. In either case, maintain a neutral spine position—avoid excessive rounding or arching of the lower back. Your shoulders should be pulled back and down before initiating the movement, creating proper alignment for optimal back muscle engagement. The key principle is consistency—your torso position should remain relatively unchanged throughout the set, with the movement occurring at the shoulder and elbow joints rather than through torso rocking. If your machine has an adjustable chest pad, position it so that when your arms are fully extended, you still have firm contact with the pad without having to stretch forward or hunch back.

Most people respond well to training each major muscle group 2-3 times per week with sufficient recovery between sessions. For the Machine Seated Row specifically, incorporating it 1-2 times weekly is typically optimal for most trainees. If following a body part split, you might perform this exercise on your designated back or pull day once per week. With an upper/lower split, it could be included in one of your two weekly upper body sessions. For full-body training, it might appear in 1-2 of your 3-4 weekly workouts. Consider your overall back training volume—the Machine Seated Row is just one component of complete back development that should be balanced with vertical pulling (pull-ups, lat pulldowns), direct rear deltoid work, and potentially other row variations. More advanced lifters might benefit from undulating approaches where the exercise appears twice weekly but with different loading parameters each session (e.g., heavier/lower reps in one session, lighter/higher reps in another). Monitor recovery between sessions—if back performance decreases or joint discomfort develops, you may need more recovery time or reduced volume. A good starting point is performing 3-4 working sets 1-2 times weekly, adjusting based on your individual response and recovery capacity.

The optimal loading strategy for machine rows depends on your specific goals and where this exercise fits within your overall program. For muscle building (hypertrophy), which is the primary goal for most people performing this exercise, moderate weights allowing 8-12 controlled repetitions per set typically provide the best stimulus. This rep range creates sufficient mechanical tension while allowing proper form and mind-muscle connection. For more strength-oriented goals, heavier loads in the 6-8 repetition range can be effective, though technical execution remains crucial even with challenging weights. For muscular endurance or when focusing on form refinement, lighter weights for 12-15+ repetitions may be preferable. A well-rounded approach often includes phases of each loading strategy—perhaps spending 4-6 weeks focusing on moderate-rep hypertrophy work, followed by a strength phase with heavier weights, then a higher-rep accumulation phase. Regardless of the loading strategy, proper form should always take precedence over weight used. Unlike some free-weight exercises where body leverage can compensate for form breakdown, machine rows typically expose technical flaws immediately, making quality of execution essential for both results and joint health. Consider implementing a double progression approach—once you can complete all prescribed repetitions with good form for 2-3 consecutive workouts, increase the weight by 5-10% and begin the progression again.

Video Demonstrations

Machine Seated Row video demonstration

Log in to watch video demonstrations

Login to Watch

3 video demonstrations available

Find more video demonstrations in the Gravitus app

Tips from the Community

  • Avatar for Derek Edison

    Insane slow eccentric, crazy stretch at bottom and pause, slight pause at peak

Ready to get serious about your Machine Seated Row?

Download Gravitus to track your sets, monitor PRs, and follow structured programs built around exercises like this.

star icon star icon star icon star icon star icon
8,000+ App Store Ratings
Download Gravitus workout tracker from the iOS App Store

Helpful Resources

One Rep Max Calculator

Find your one rep max for any exercise without maximal testing. Essential for developing effective strength training programs.

Calculate 1RM

Workout Programs

Follow structured workout programs created by fitness professionals to maximize your strength and muscle gains.

View Programs
Track Your Machine Seated Row
Log sets, track PRs, see your gains
Download